FAQ: Navigating Through Your Pixieset Gallery
So you’ve just received your Pixieset online gallery...now what? Here is a detailed step-by-step tutorial on how to navigate through your Pixieset online gallery.
The invite:
Clients will receive an email from me inviting them into their Pixieset gallery. All of my portfolios are set to private and require a password for viewing. Your password will be found at the bottom of your email invitation.
Simply click on the “View Photos” button and you will be redirected to your gallery home page. Enter in your password to unlock your gallery. Feel free to share the gallery password with family and friends. Anyone you wish to invite is welcome to order prints/canvases, or simply scroll through the photos.
Gallery navigation:
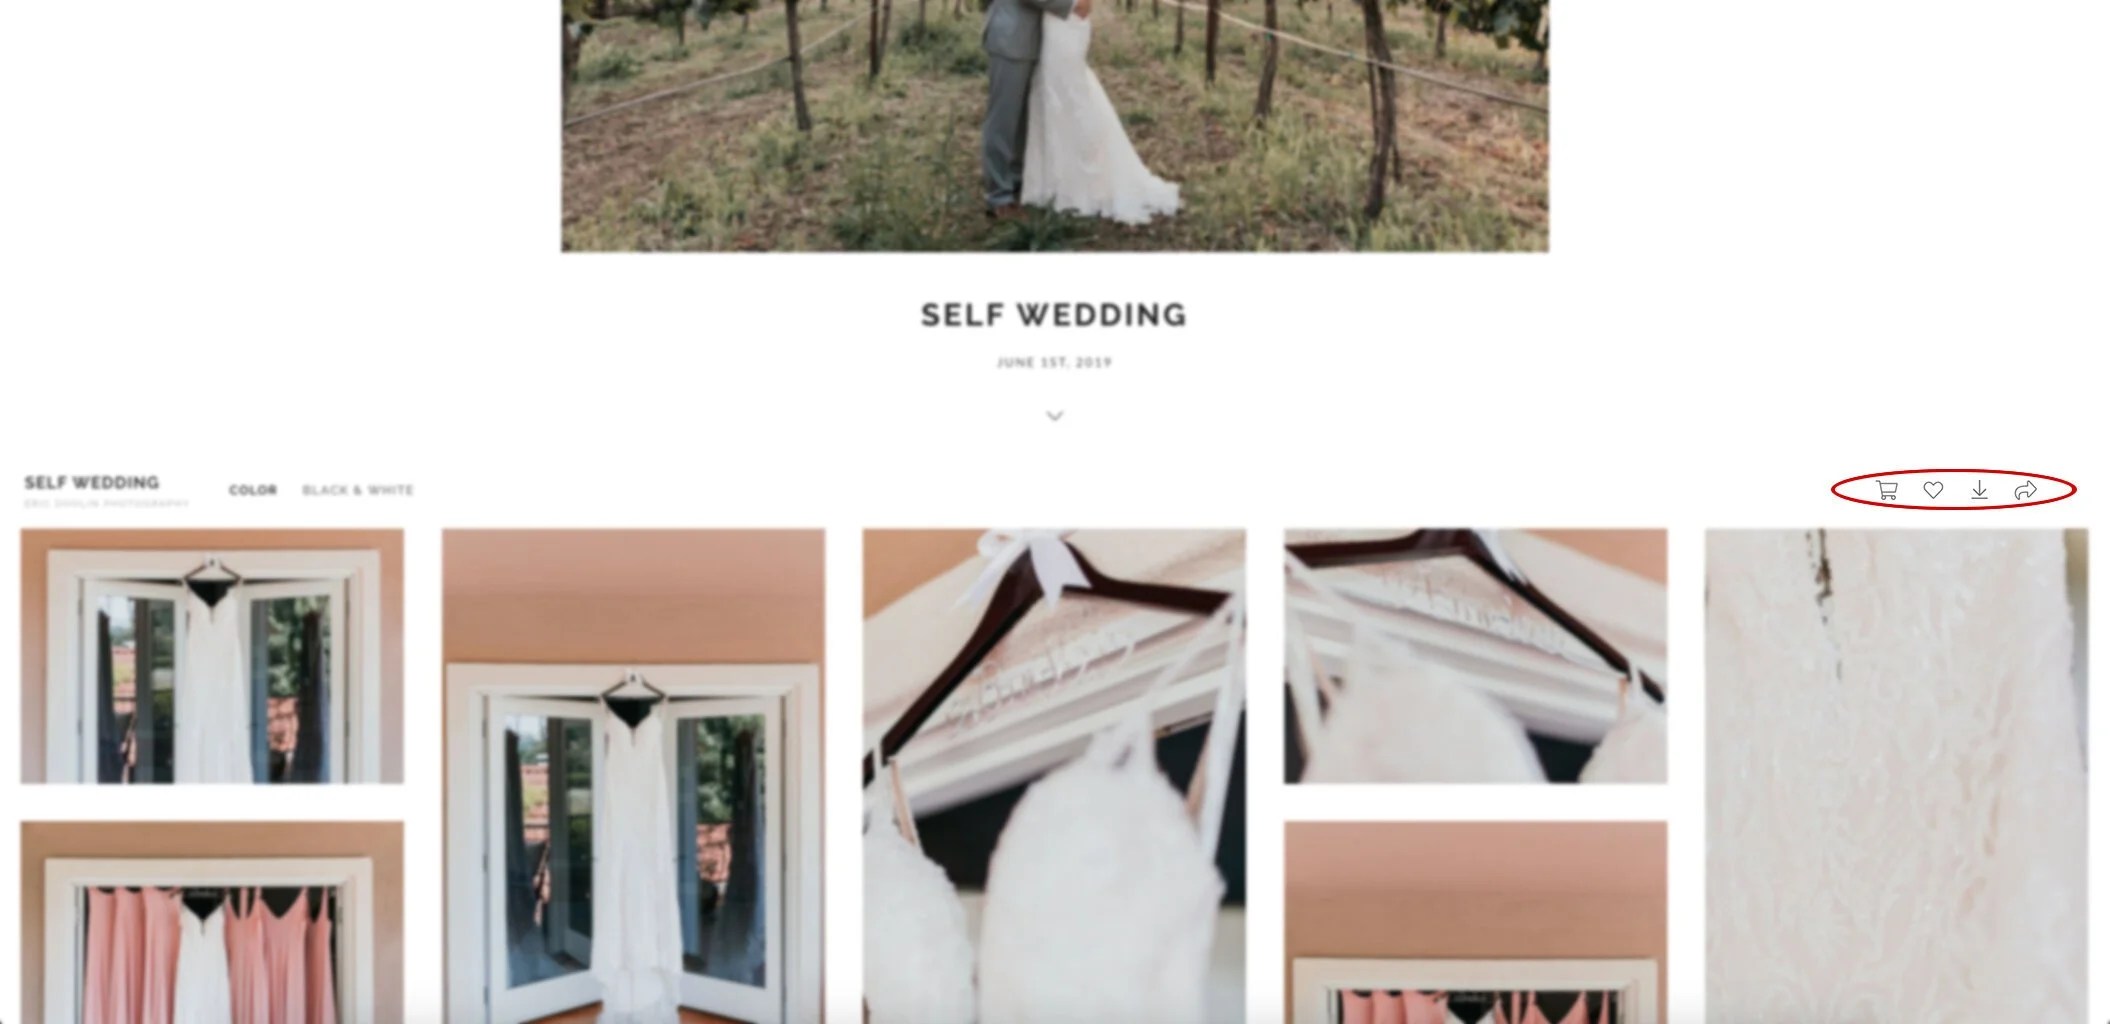
After you’ve entered in your gallery password, you may now scroll through your photos. I offer clients two copies of each photo. One version is a color copy while the other is a black and white copy. By clicking on ether “Color” or “Black & White”, you may view/order any of the variations.
There are four other important buttons found at the top of the gallery. The first is a shopping cart icon (where you can see what all is in your shopping cart), a heart icon (where you can view all of the photos you’ve favorited), a download button (where you can download the entire gallery of images), and the share button (which allows you to share the gallery on any social platform of your choosing).
Image viewing:
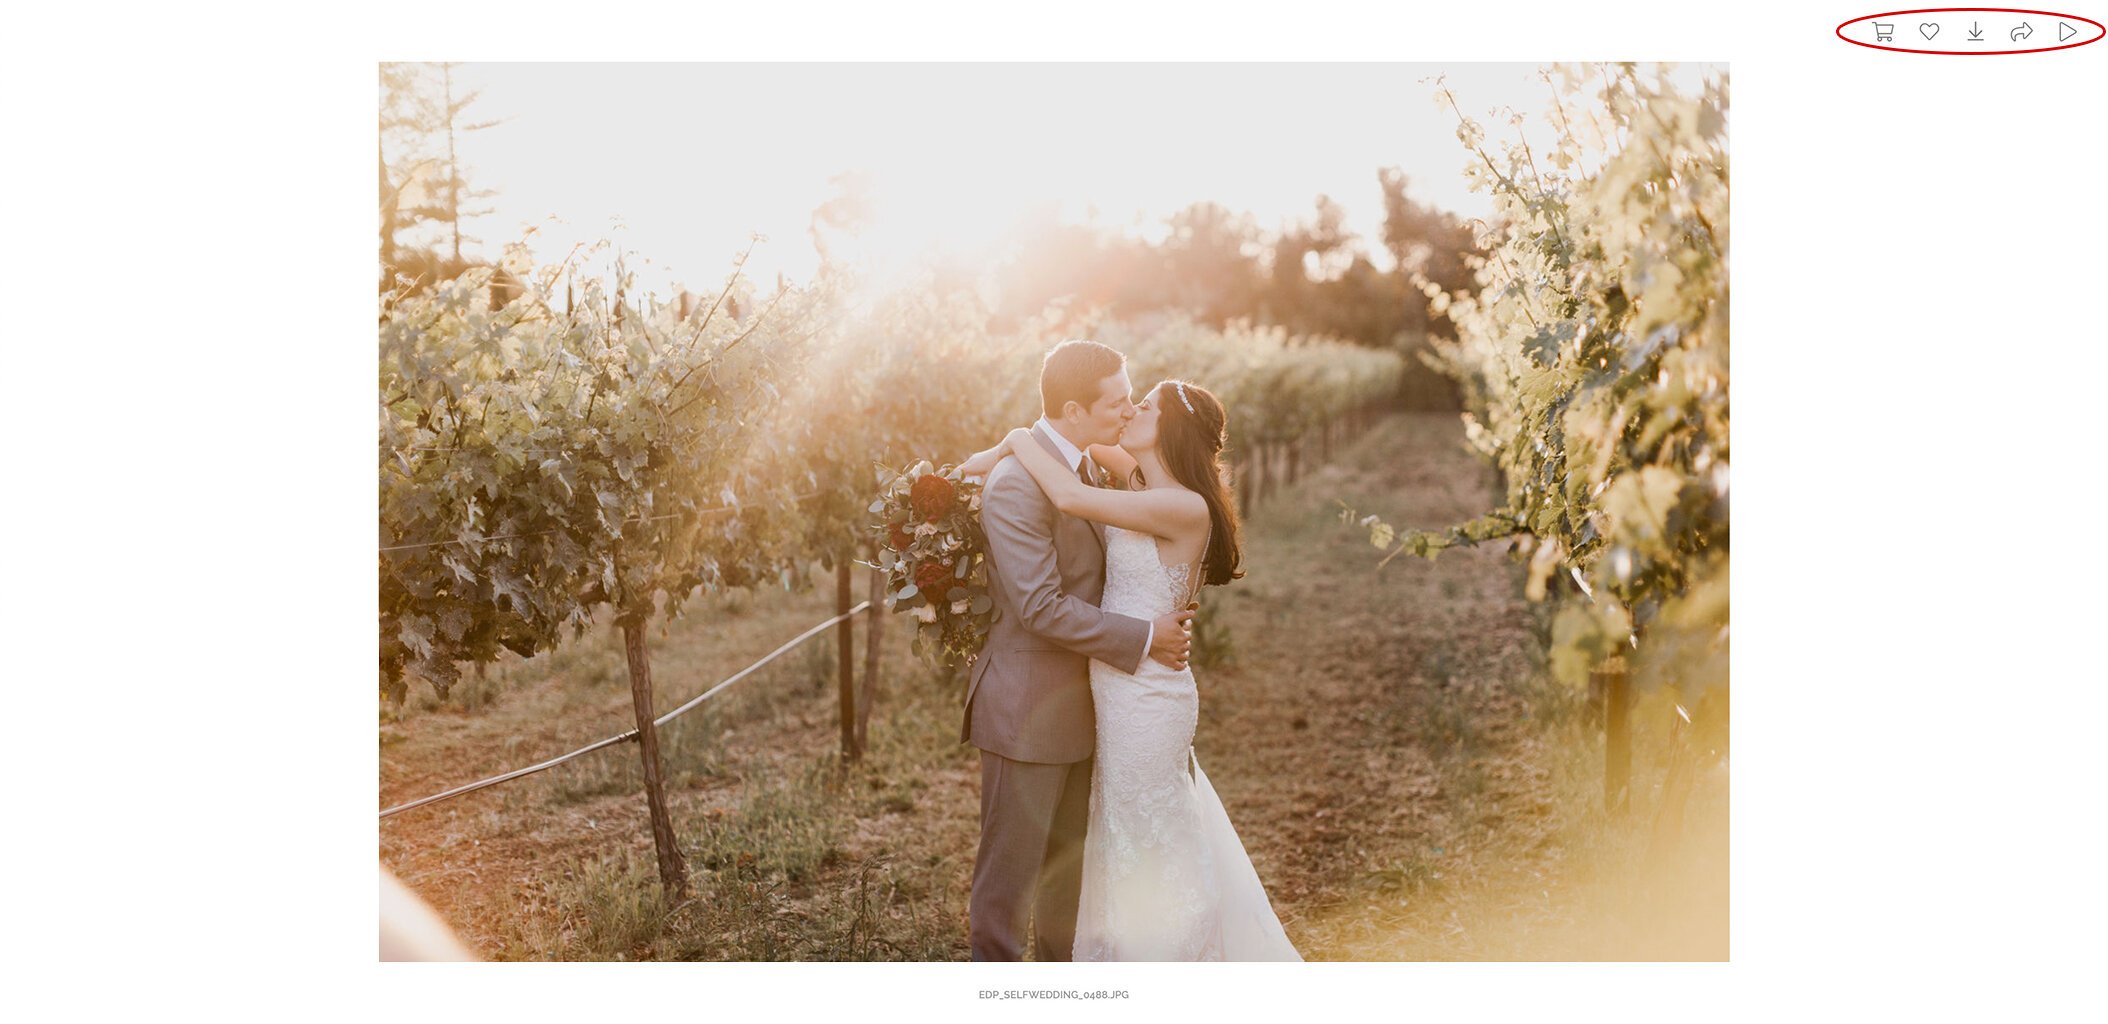
Click on an image to enlarge the photo. There are several unique features found at the top of the selected photo.
The buttons read “Buy Photo”, “Favorite”, “Download”, “Share”, and “Slideshow”. Each button does the following:
Buy Photo – Pixieset allows users to buy high quality prints with the click of a button. By clicking “Buy Photo”, you have access to purchasing prints, canvases, or mounted prints. Each option varies in size and price. Transactions are completed through PayPal. All sales are final and are for non-commercial use only.
Favorite – Click “Favorite” to add the selected photo to your favorites tab. You can view all of your favorite photos by clicking on the heart icon found at the top of the gallery menu (see gallery navigation).
Download – You are able to download a single photo by clicking on the “Download” button. An email is required when downloading photos (see gallery navigation to learn how to download the entire gallery of images).
Share – By clicking “Share”, you are able to share the selected photo on your social media.
Slideshow – Start a slideshow on your viewing device. The slideshow will begin with the selected photo and transitions to the next numerical photo. You cannot randomize the slideshow or change the speed of it. This feature is a great way to present your wedding/engagement photos when you have company over.
I hope this tutorial helped clear up any confusion you had. If you are in need of further assistance, please email me your question(s) and I’d be happy to help. My goal is to make my photos more accessible for everyone. Enjoy!
Click HERE to view your Pixieset account.


